Balcony Privacy Tips: 17 Smart Ideas You’ll Love
Balcony privacy tips can make the difference between an outdoor space you avoid and one you actually use. A small apartment balcony may have a clear view of nearby windows, a street below, or the next building across the courtyard. The goal is not to seal the balcony into a dark box. It is to soften the most uncomfortable sightlines while keeping daylight, airflow, and usable floor space.
The strongest privacy setups are layered and targeted. A railing screen can reduce exposure from below, a stable planter can interrupt a diagonal view, and a light curtain can protect one seating corner. When each layer solves a specific problem, the balcony feels sheltered rather than crowded.
Before choosing screens or furniture, use these small apartment ideas to keep scale, circulation, storage, and visual weight consistent with the rest of the home. The balcony privacy tips in this guide are designed for realistic apartment dimensions, renter restrictions, changing weather, and everyday maintenance.

What Are Balcony Privacy Tips?
Balcony privacy tips are practical ways to reduce direct views into an apartment balcony through targeted screens, plants, curtains, layout changes, and removable barriers. Good solutions protect the seating zone first, preserve airflow, stay secure in wind, and fit the scale of the balcony instead of wrapping every edge in one heavy material.
Privacy is one part of the full outdoor layout. For broader furniture, flooring, lighting, and planting decisions, review these apartment balcony ideas. If you live in a lease that strictly limits attachments, combine these screening tips with our guide to renter-friendly balcony ideas. This guide stays focused on sightlines, screening methods, privacy placement, renter-friendly installation, and the balance between shelter and openness.
Start by standing where you plan to sit and identifying exactly where exposure feels strongest. A low street view, a side-angle neighbor, and an overhead window need different solutions. Solving the correct angle usually requires fewer materials and produces a cleaner result.
Table of Contents
- What Are Balcony Privacy Tips?
- Quick Wins for Better Balcony Privacy
- Which Balcony Privacy Solution Fits Your Space?
- 17 Balcony Privacy Tips for Small Apartments
- Balcony Privacy Checklist at a Glance
- Frequently Asked Questions
- How to Add Balcony Privacy Safely and Practically
- Final Thoughts on Balcony Privacy Tips
Quick Wins for Better Balcony Privacy
The most effective balcony privacy tips begin with the uncomfortable sightline, not with a shopping list. Fix the most exposed angle first, keep the center of the balcony open, and add only the secondary layer that is genuinely needed.
- Map exposure from the seat: Sit in the intended chair position and identify whether the strongest exposure comes from below, the side, straight ahead, or above.
- Prioritize eye-level sightlines: Protect eye-level and diagonal views before adding decorative screening to areas that already feel comfortable.
- Layer two light elements: Use two light layers, such as a railing screen and one tall planter, instead of one oversized solid wall.
- Angle seating inward: Turn seating inward or toward a protected corner so the arrangement feels less public-facing.
- Preserve daylight & breeze: Choose slatted, mesh, or light-filtering materials when a solid panel would reduce too much daylight or airflow.
- Measure clearance first: Measure the door swing, drain, railing, and usable floor area before buying any freestanding screen or planter.
- Check building regulations: Check lease, building, fire, and exterior-appearance rules before attaching curtains, panels, shades, or rail-mounted items.
For portable decor, reversible surfaces, and no-drill styling principles, these renter-friendly decor ideas provide a useful foundation before you add balcony-specific screening.
Which Balcony Privacy Solution Fits Your Space?
Different exposure patterns need different balcony privacy tips. Use the table below to choose a primary solution before layering plants, fabric, or decor around it.
| Privacy Problem | Best First Solution | Why It Helps | Watch For |
|---|---|---|---|
| Street or parking view from below | Railing cover or breathable mesh | Blocks low sightlines without taking floor space | Building appearance rules and secure fastening |
| Neighboring balcony at the side | Tall stable planter or narrow trellis | Targets the diagonal view where it actually enters | Wind, planter weight, and walking clearance |
| Direct view across a courtyard | Light curtain, slatted screen, or folding panel | Softens eye-level exposure while preserving flexibility | Darkness, movement in wind, and attachment rules |
| Upper-floor window looking down | Approved shade sail or light canopy | Filters the overhead angle and adds shade | Permission, anchor points, drainage, and wind load |
| Very narrow balcony | Railing screen plus one vertical element | Adds privacy without filling the center | Bulky feet, deep planters, and door obstruction |
| Windy exposed balcony | Low slatted screen and heavy-base planter | Allows some air through and reduces tipping risk | Loose curtains, lightweight panels, and tall unstable decor |
| Rental with no drilling allowed | Freestanding trellis, folding screen, or weighted planter | Creates removable coverage with no permanent holes | Lease rules, stability, and safe storage during storms |
17 Balcony Privacy Tips for Small Apartments
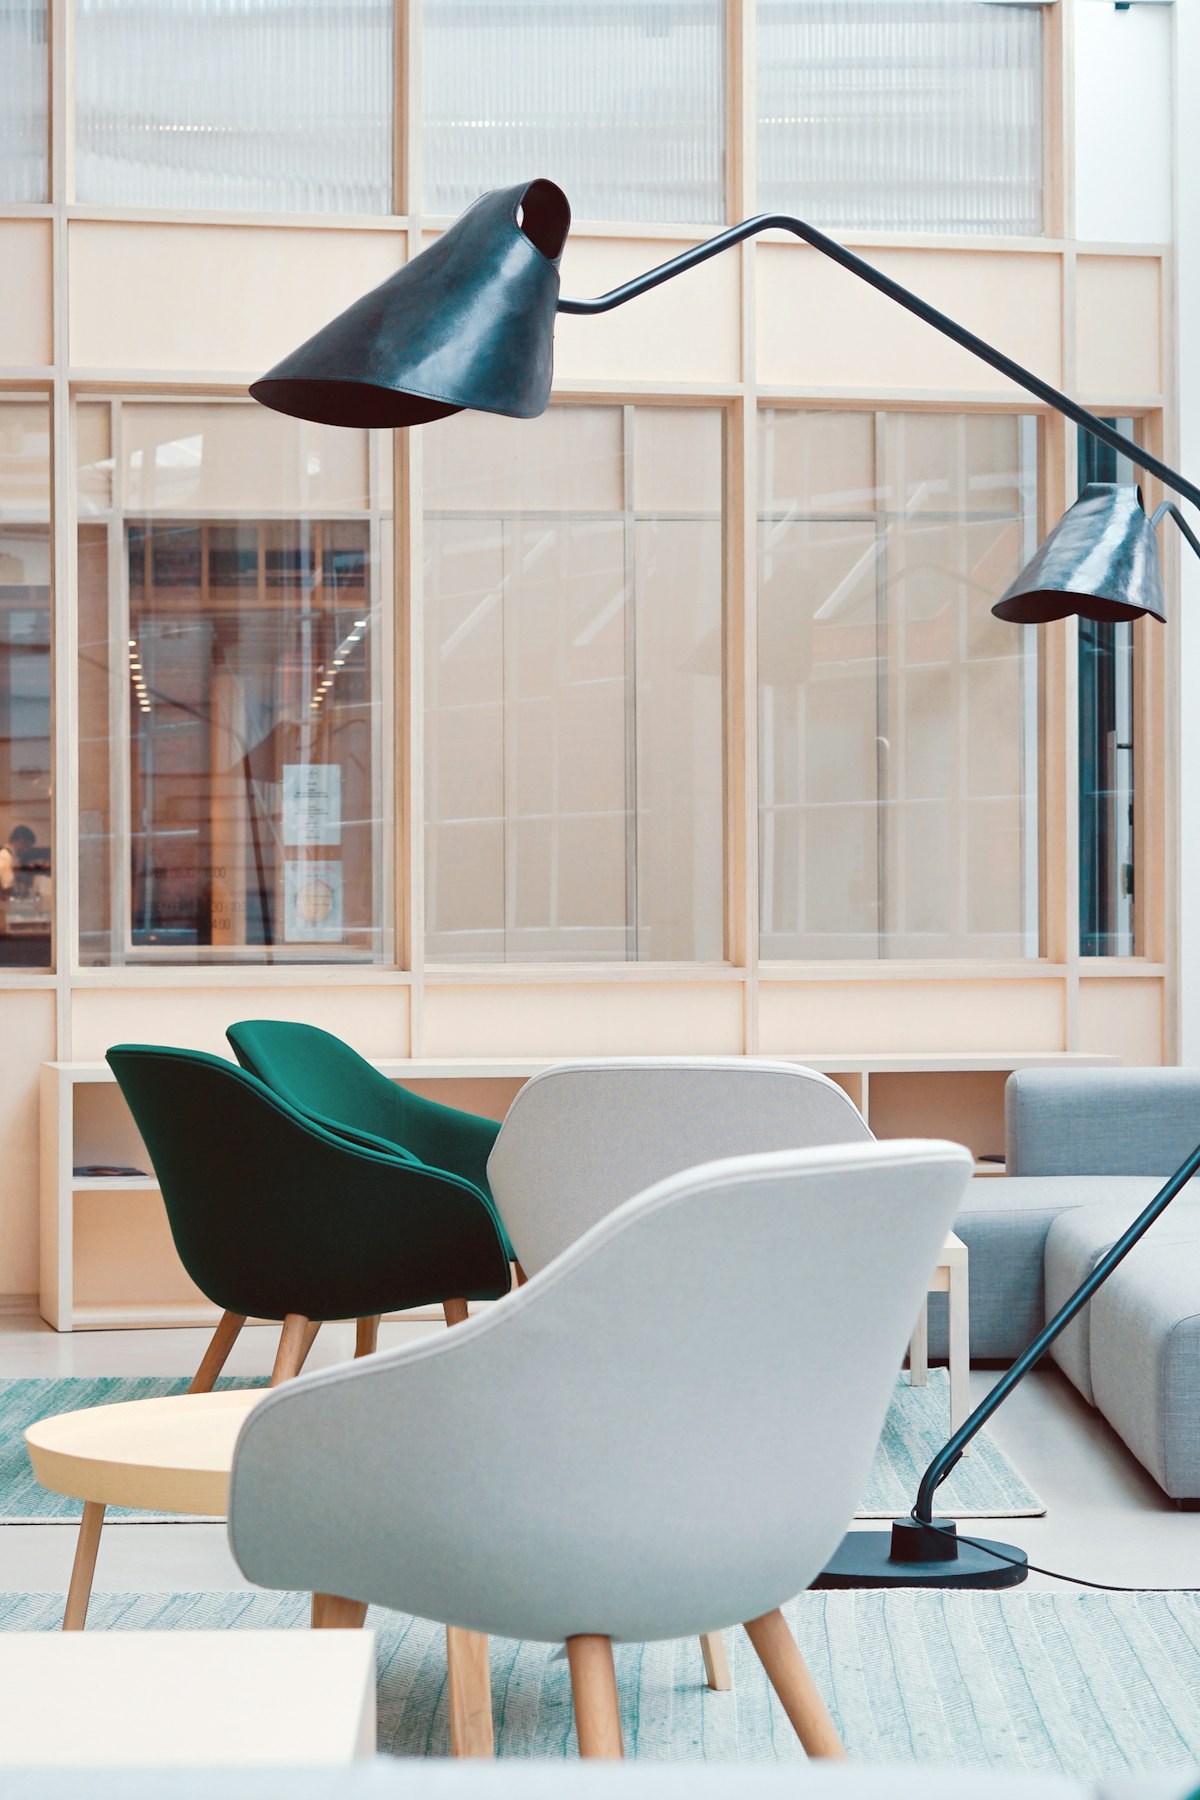
1. Map the Sightlines Before Buying Anything
The first step is to identify who can see the seating zone and from which direction. Sit where the chair will go, then check the view from below, both sides, straight ahead, and above. Balcony privacy tips work best when they interrupt one exact angle instead of adding material around the entire perimeter.
Why it works: Targeted screening uses less floor space, preserves more light, and looks more intentional.
Action step: Take a photo from the chair position and mark the exposed zones before measuring for screens or planters.
2. Start With a Breathable Railing Screen
A railing screen is often the fastest fix for exposure from a street, parking area, or lower neighboring level. Choose outdoor-rated mesh, slatted material, or a fitted woven panel that reduces visibility while allowing some air to pass through. Keep the screen aligned with the railing height so the result looks neat rather than improvised.
Why it works: It protects the lowest sightline without occupying the usable floor.
Common mistake: Extending a flexible panel too high above the railing, where wind can pull, flap, or distort it.
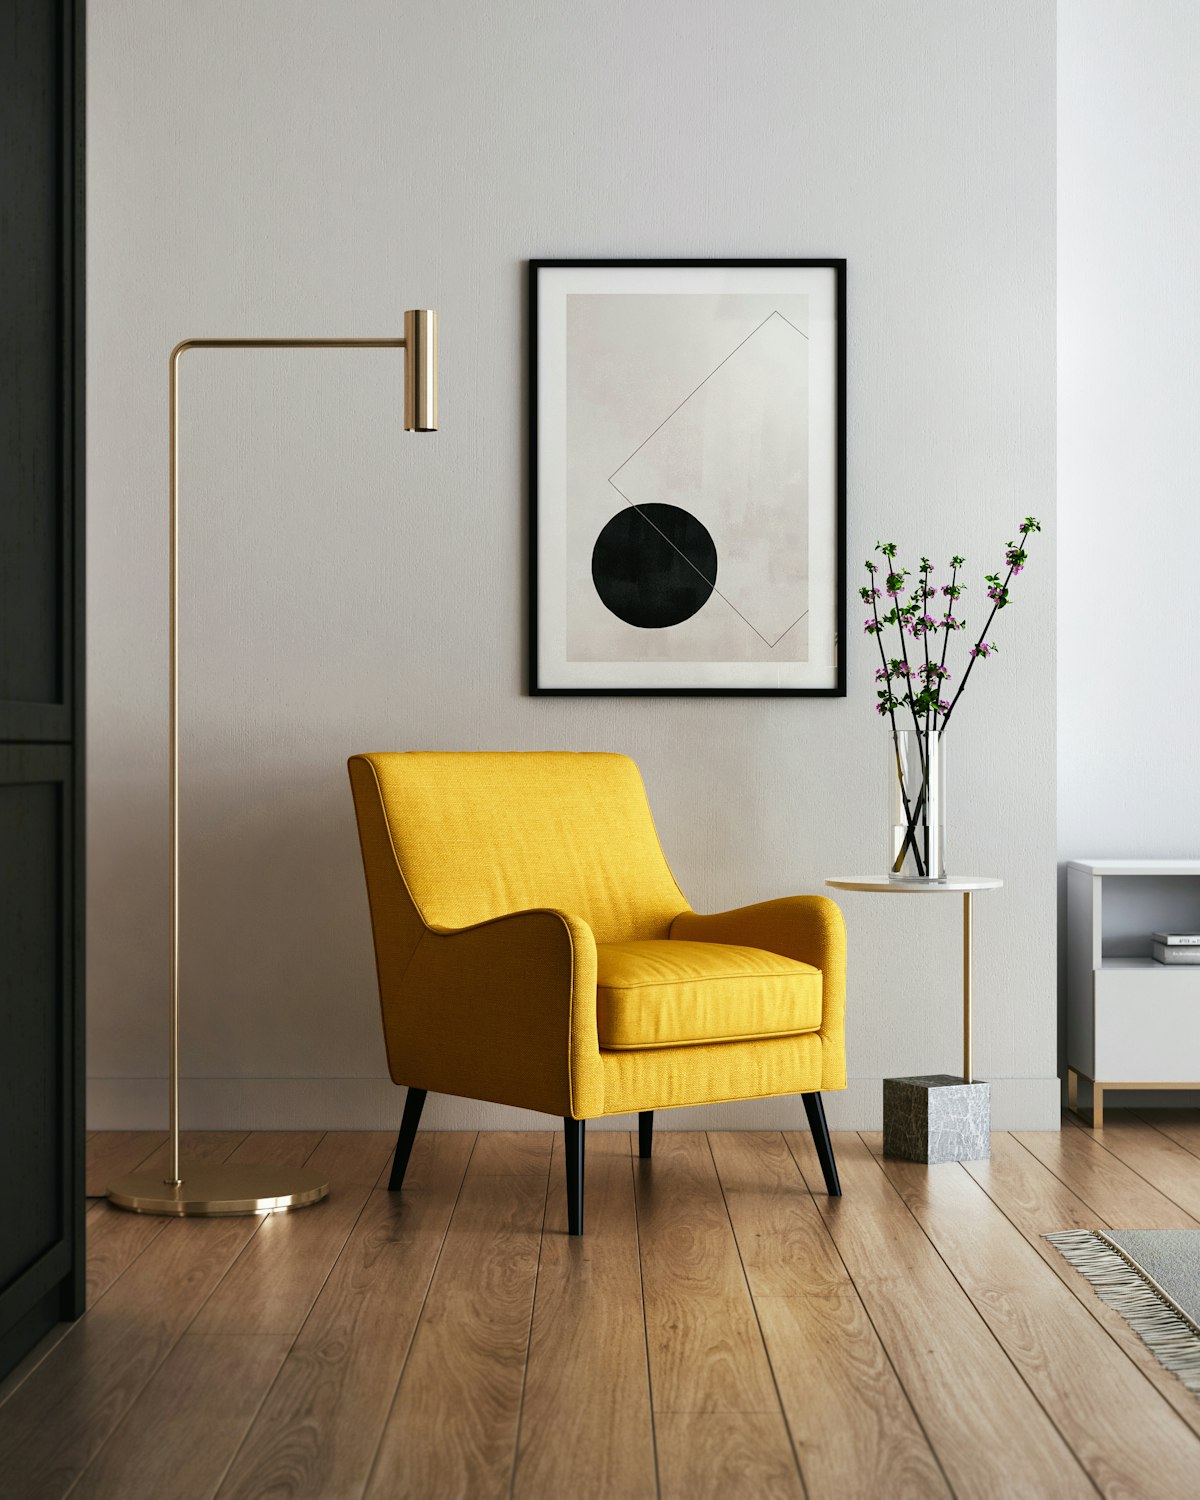
3. Place Tall Planters Only Where Side Views Hit
Diagonal views from a neighboring balcony or window usually enter through one corner. Place one or two stable tall planters at that exact point rather than lining the entire edge with pots. Choose plants for the real sun and wind conditions, and use containers with enough weight and width to remain stable.
Designer trick: Corners need height more often than the middle needs more decor.
For broader furniture and plant-zone planning, use these apartment balcony ideas to coordinate the privacy layer with the rest of the outdoor layout.
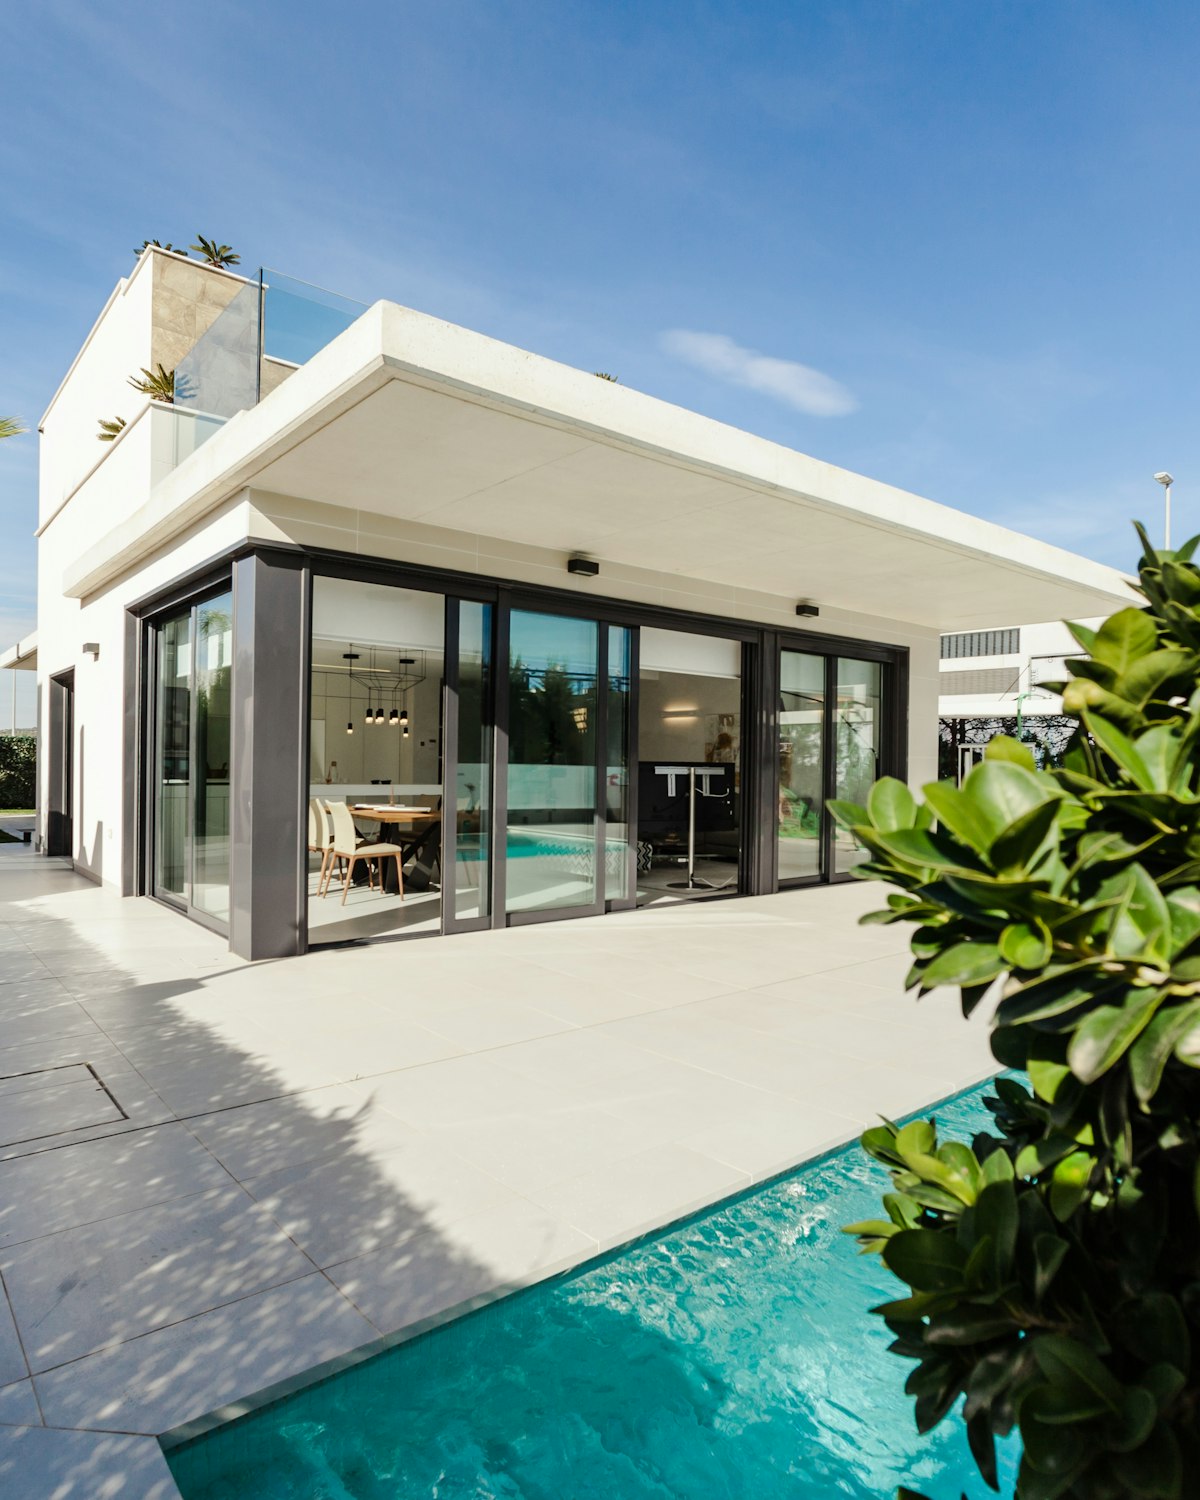
4. Use a Freestanding Trellis for No-Drill Height
A narrow freestanding trellis gives you vertical privacy without turning the balcony into a construction project. An open grid or slatted design can support one climbing plant or simply act as a light visual filter. Position it behind the seat or at the exposed side, and choose a base that stays stable without intruding into the walking path.
Renter-friendly note: Freestanding pieces are usually easier to remove, reposition, and store than permanently attached panels.
The same removable planning principles appear in these renter-friendly home upgrades, especially when you need visible change without lasting damage.
5. Hang Outdoor Curtains as a Flexible Side Layer
Outdoor curtains are useful when privacy needs change throughout the day. Close one panel during the exposed hours, then tie it back when you want more light and airflow. Choose outdoor-rated fabric, a pale or mid-tone color, and an approved support method that suits the lease and building rules.
Stylist tip: Slightly fuller fabric looks softer and more intentional than a panel stretched tight like a tarp.
Practical note: Secure or remove curtains before strong wind, and do not allow fabric to cover drains, vents, fixtures, or required access.
6. Choose Slatted or Mesh Screening for Windy Balconies
A solid sheet catches more wind than an open screen. On exposed upper floors, use a slatted, lattice, perforated, or mesh design that filters the view while allowing some airflow. Keep the profile low and secure, and avoid lightweight panels that can act like sails during gusts.
Why it works: Partial openings reduce visual exposure without turning the privacy feature into a broad wind surface.
Common mistake: Choosing the tallest possible screen instead of the lowest screen that solves the real sightline.
7. Use a Folding Screen When the Exposure Moves
A narrow folding screen is practical when one angle feels exposed in the morning and another becomes uncomfortable later. Open only the panels you need, then fold the screen back when the balcony should feel more open. Choose narrow feet, an outdoor-suitable finish, and enough weight or approved stabilization for the location.
Best for: Sheltered balconies with changing sun, activity, or neighbor sightlines.
For complete micro-balcony layouts that go beyond screening, these tiny balcony ideas show how to combine one seat, a compact surface, vertical greenery, and breathing room.

8. Turn the Seating Inward to Create a Sheltered Zone
Some exposure comes from furniture orientation rather than the absence of a screen. Instead of facing every chair toward the railing, angle the seat toward the apartment, a side wall, or a protected corner. Anchor the arrangement with a small rug or table so it reads as a deliberate nook rather than furniture pushed out of alignment.
Why it works: An inward-facing layout changes the emotional focus from public view to private retreat.
Action step: Test the chair at a 30- to 45-degree angle before adding another privacy product.
9. Build Privacy Around a Corner Bench
A slim corner bench can create a tucked-away destination and use wall edges more efficiently than separate chairs. Place the bench in the least exposed corner, then guard the outer side with one planter, trellis, or light panel. Keep the bench depth modest so the balcony still has a comfortable entry and standing zone.
Why it works: The wall and corner already provide two boundaries, so you need less added screening.
Common mistake: Choosing a deep outdoor box that leaves no space to stand, turn, clean, or access the door.
10. Add Overhead Privacy Only When the View Comes From Above
If upper-floor windows or balconies look down into your seating area, side screens will not solve the main problem. An approved light canopy, retractable shade, or small shade sail can filter the overhead view while adding useful sun protection. Keep the material light in color and the coverage no larger than necessary.
Renter-friendly note: Balcony privacy tips involving overhead attachment require extra care because anchor points, wind loads, drainage, and exterior appearance may be regulated.
Action step: Confirm written permission and manufacturer requirements before buying any shade that needs attachment.
11. Create a Narrow Vertical Plant Wall
A slim vertical plant shelf can soften a blank side wall and create privacy without spreading containers across the floor. Use a narrow open frame, repeat a small number of pot styles, and place more foliage at eye level than at the bottom. The result should filter the view, not become a dense wall that is difficult to water or secure.
Why it works: Vertical coverage adds height and texture while preserving the center of the balcony.
Maintenance note: Leave enough access to inspect supports, rotate plants, water safely, and clean fallen leaves.

12. Use Lattice as a Light Visual Filter
Lattice works well when you need partial privacy but still want daylight and airflow. Use it on the single exposed side rather than around the whole balcony. A simple grid can stay plain, support one climbing plant, or carry a restrained line of warm lights, depending on the lease and installation rules.
Stylist tip: A simple square or vertical grid usually looks calmer in a small space than ornate garden lattice.
Common mistake: Adding lattice, curtains, plants, and shelves to the same side until the privacy solution becomes visual clutter.
13. Use Faux Greenery Only for One Difficult Area
Artificial hedge or foliage panels can help where shade, wind, heat, or maintenance makes real coverage unreliable. Choose a matte, varied texture and use it only behind the seat or on one problem side. Mix it with one or two real planters so the balcony still feels natural and layered.
Why it works: A targeted panel creates consistent coverage without requiring a full living screen.
Common mistake: Covering every railing and wall in glossy faux leaves, which removes depth and makes the balcony feel artificial.
14. Use a Slim Console to Separate the Entry From the Nook
On a long narrow balcony, a slim outdoor console or open shelf can create a subtle transition between the doorway and the seating area. It does not need to be tall to improve privacy. Once the layout has a defined entry zone and a defined retreat zone, the seat feels less exposed and the balcony feels more organized.
Designer trick: Use only two or three items on the console, such as one planter, one lantern, and a covered storage basket.
Practical note: Keep the top surface below the railing where required and do not narrow the walking route.
15. Use Warm Low Lighting to Reduce the Exposed Feeling at Night
Lighting does not physically block a view, but it changes how the balcony feels after dark. A harsh overhead fixture can make the seating zone feel like a stage. Use one warm edge light and one lower lantern or rechargeable lamp so the brightest pool of light stays close to the furniture instead of flooding the whole balcony.
Why it works: These balcony privacy tips create a smaller visual zone and reduce the stark contrast that makes you feel on display.
Common mistake: Using cool, bright string lights around every edge until the entire balcony becomes more visible from outside.

16. Use Color and Texture to Make Partial Privacy Feel Complete
A balcony can feel sheltered even when the screening is not full-height. Repeat a calm palette across the screen, rug, planters, chair, and cushions so the eye reads one cohesive outdoor room. Warm beige, charcoal, muted olive, clay, and natural wood work well because they soften concrete and metal without creating visual noise.
Why it works: Visual cohesion reduces the sense of exposure and makes several light privacy layers feel intentional.
Use these cozy apartment aesthetic ideas to carry one or two indoor colors and textures outside so the balcony feels connected to the home.
17. Combine Two or Three Light Privacy Layers
The most successful balcony privacy tips rarely depend on one oversized product. Combine a low railing screen for views from below, one stable vertical element for the exposed side, and a softer seating layer such as an inward-facing chair, rug, or curtain. Stop as soon as the balcony feels comfortable.
Best for: Awkward balcony shapes, renters, and spaces with more than one uncomfortable sightline.
Final edit: Remove any privacy element that does not solve a real view, safety, comfort, or styling problem.

Balcony Privacy Checklist at a Glance
Use this checklist to turn balcony privacy tips into one stable, removable, and visually calm setup. The goal is to solve the uncomfortable angles while preserving movement, maintenance access, light, and airflow.
- Sightlines: identify the view from below, each side, straight ahead, and above.
- Primary layer: choose one solution that addresses the strongest exposure first.
- Secondary layer: add only one planter, curtain, trellis, or screen where another angle remains uncomfortable.
- Seating: angle the chair or bench toward the protected side instead of facing the public view.
- Clearance: keep the door swing, threshold, drain, walkway, railing, and required access unobstructed.
- Stability: use outdoor-rated materials and secure every screen, planter, curtain, shade, and light for the actual wind conditions.
- Palette: repeat two or three finishes so privacy features read as decor rather than temporary barriers.
- Maintenance: preserve access for cleaning, watering, inspection, storage, and storm preparation.
- Rules: confirm lease, building, fire, facade, and attachment requirements before installation.
- Final edit: remove one layer if the balcony feels dark, cramped, difficult to clean, or hard to enter.
A practical privacy formula is: one low barrier + one targeted vertical element + one sheltered seating angle + one warm texture. That combination handles several views without turning the balcony into a closed room.
Frequently Asked Questions
These practical answers cover budget, furniture, privacy, plants, and renter-safe balcony privacy tips for small outdoor spaces.
How to Add Balcony Privacy Safely and Practically
Good balcony privacy tips must remain stable, weather-aware, easy to remove, and compatible with the building rules. Privacy is not worth adding if the screen catches wind, the planter overloads the balcony, the fabric blocks a drain, or the layout narrows a required route.
- Clear egress routes: Keep the balcony door, threshold, drain, ventilation openings, railing, and required escape or service access clear.
- Confirm attachment permissions: Do not attach screens, curtains, shades, hooks, or planters until the permitted fixing method and surface suitability are confirmed.
- Weatherproof materials: Use outdoor-rated materials and follow the manufacturer instructions for wind, weather, cleaning, and installation.
- Storm readiness: Secure loose curtains, cushions, rugs, lanterns, and lightweight screens before strong wind or severe weather.
- Drainage & neighbor safety: Use stable planter bases, proper drainage, and a layout that prevents water or loose material from falling onto neighbors or public areas.
- Railing clearance: Avoid placing climbable furniture or large planters where they create a hazard near an unsafe railing.
- Building & fire compliance: Check local building, lease, fire, facade, and exterior-appearance rules before using combustible screens, overhead shades, or visible attachments.
- Maintenance access: Choose a final arrangement that can be inspected, cleaned, watered, stored, and reset without moving every object.
For plant selection, container weight, watering, and wind exposure, review the authoritative RHS guidance for balconies and roof gardens. It is a critical reminder that balconies have structural load limits and exposed plants require realistic wind and irrigation planning.
Final Thoughts on Balcony Privacy Tips
The best balcony privacy tips protect the places where exposure actually affects comfort. A breathable railing screen, one well-placed planter, a light side layer, and a sheltered seating angle can do more than a large enclosure that blocks light and consumes space.
Build the arrangement in stages, test it from the seat, and stop when the balcony feels calm enough to use. Privacy should support safety, movement, and style at the same time. When every layer has a clear job, even a compact apartment balcony can feel like a personal outdoor room rather than an exposed ledge.

Article Written by
Claire Bennett
Claire is the founder and interior styling writer behind The Decor Nook, where she focuses on smart proportions, layered lighting, renter-friendly upgrades, and practical ways to make compact homes feel comfortable and functional.